 |
Written By Lara Wadsworth |
As a writer here at True Leaf Market, I am frequently researching and writing about a wide range of seeds and growing techniques. I learn about the health benefits of all sorts of plants as well as how to grow them. However, sometimes, I could use a bit more of my own experiences. That’s why when I was gifted a sprouting jar, I jumped at the chance to try it out!
Sprouting - From Knowledge to Action
anywhere else. Depending on the seeds you are sprouting, you can avoid nutrient deficiencies, bolster your immune system, and more! Some people thrive off of a raw diet based on consuming fresh sprouts daily. While I am definitely not a health guru, I am open to trying new things, especially if they are easy and benefit my body.
Choosing My Sprouting Seeds
I am at a slight advantage over your average beginner sprouter because I have been learning about sprouts for some time now. So, when it was finally time to sprout on my own, I knew I wanted to try fava beans. I chose these because they do not have a spicy flavor like some other popular sprouts do (such as radish and arugula), and they are higher in protein. Fava beans are easy, quick to sprout, and have a smooth texture without a distinct flavor. This was desirable because I wanted my sprouts to be used in other dishes without overwhelming the flavors. I have eaten broccoli sprouts before, and I felt like the flavor was too intense for my taste. On the other hand, my parents have them in stock at their house because they love them so much! The bottom line is that the best sprout is the one you will eat. Find one, or a few, that fits your needs and palate.
Sprouting Supplies and Preparation
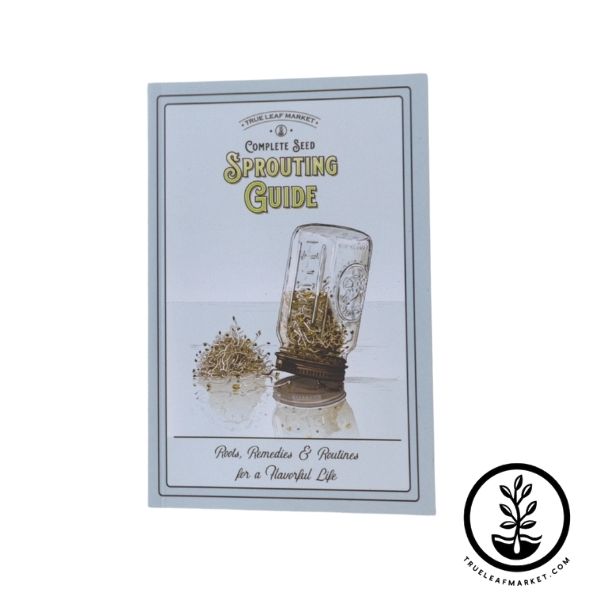
I was gifted the sprouting kit with a jar, a sprouting lid, a stand, a drip tray, and a quarter-cup measuring spoon. I started by washing all the components in warm, soapy water. I did end up looking up the instructions for fava beans, specifically in TLM’s sprouting guide, just to make sure I had the timing right. I simply followed the instructions! It was seriously that easy.
The Sprouting Process
To avoid becoming a how-to article, I’ll just say that the process was even simpler than I could have thought it to be. I love that you don’t have to play with a growing medium when doing sprouts. Microgreens, for example, have similar health benefits but require some coco coir or other medium. It was easy to rinse the seeds using the jar in the kit. I just streamed water straight through the lid, swished it around, and dumped it out. Before I knew it, they were ready to eat!
Harvesting
Another reason I chose to grow fava beans for my first sprout was because they are super easy to harvest. Some sprouts give off an odor, get slimy, or separate from their seed coating. All of these factors are easy to overcome, but extra rinsing steps should be added when harvesting them. For fava beans, I just have to rinse and eat them! That was it.
How to Eat Fresh Sprouts
Sprouts are easy to add to your diet. They are beautiful garnishes and make unique toppings and condiments. I had a relatively small amount of sprouts, so I only made two dishes with them. One of my favorite home-cooked meals is this Greek Bowl I make frequently. I just added the sprouts into the bowls with all my other ingredients! The fava sprouts didn’t overpower but added a delicious crunch with all the other components. I also tossed a handful of them into my morning smoothie one day. However you make your typical smoothie, just add a handful of sprouts! It is that easy, and you are increasing the nutrient content significantly.
Overall, it was a good experience! I have already ordered some more sprouts to try out, and I can’t wait to expand my sprouting repertoire! I am a big legume lover, so I plan on trying out the Protein Powerhouse Mix and the Bean Salad Mix! What will you sprout next?


0 comments
No comments yet! Be the first to start a conversation.